

Vision Measuring System: How to Choose the Right One for Your Needs
2026-10-27
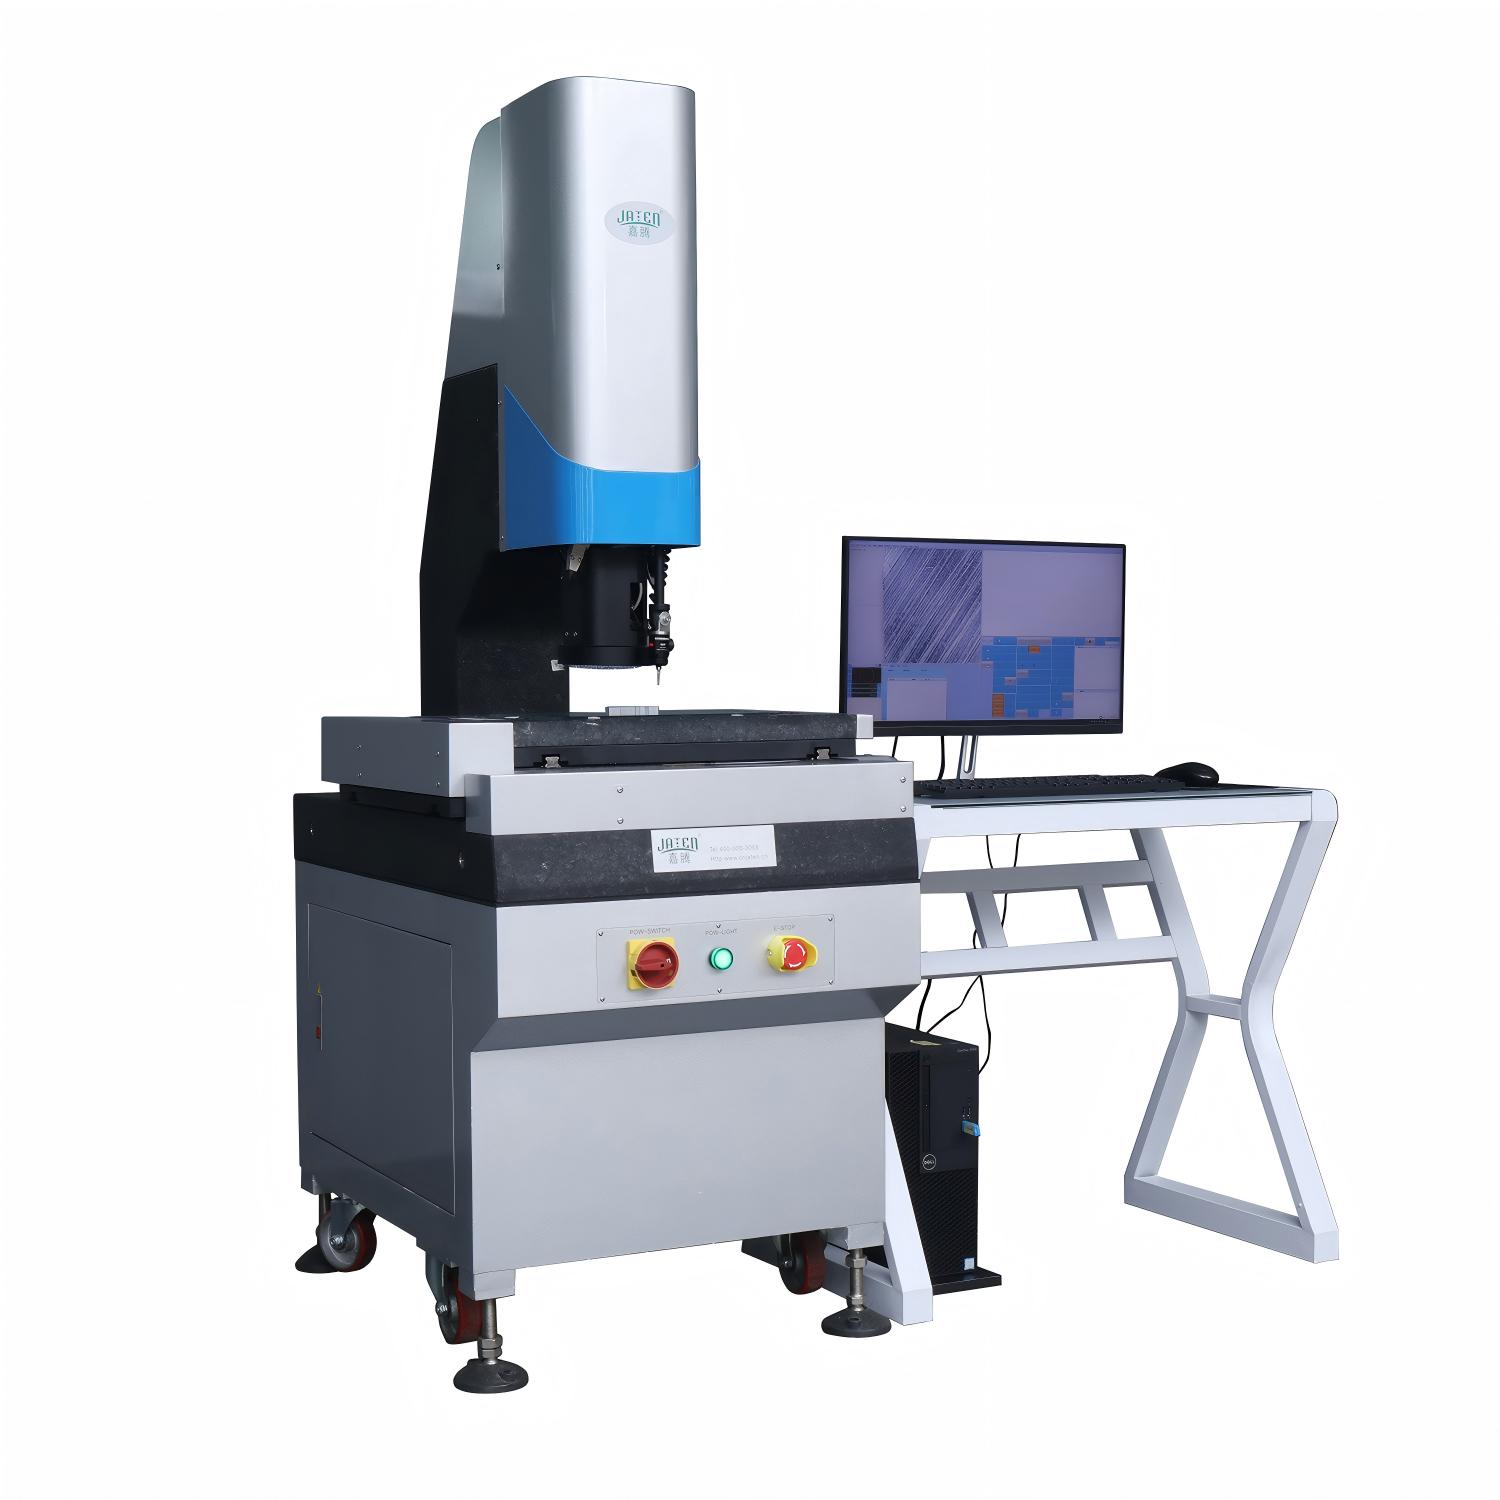
Selecting a vision measuring system isn't just about comparing specs—it's about matching the right technology to your unique inspection challenges. With so many options on the market, from manual to fully automated, the decision can feel overwhelming. This guide cuts through the noise, helping you focus on what truly matters: accuracy, speed, ease of use, and long-term scalability. Whether you're measuring small precision parts or large components, understanding your application's real demands is the first step. At JATEN, we believe the best choice is one that grows with your production needs, not just for today.
Start with the parts you actually need to measure
Before pulling out any tool, take a hard look at the object in front of you and name the exact features that matter. A table isn't just a table; you need the length of the top, the width between the legs, maybe the height from floor to underside. Write those down in plain words, not as abstract categories. This simple list prevents you from measuring things twice because you forgot what you were after.
Skip the temptation to capture every dimension for some imaginary future use. If the goal is to fit a shelf into an alcove, you only care about the alcove's width at its narrowest point and the depth at the height where the shelf will sit. Measuring the full room height or the doorframe width adds noise and wastes time. Focus on the parts that will collide, connect, or be seen.
Once you have that short list, keep it visible while you work. A sticky note or a quick phone note with the exact features to measure keeps you on track. When the numbers start blurring together, you can glance at it and know whether that last reading was for the left leg or the right edge. It also makes your final notes cleaner and easier for someone else to follow.
Understand the difference between accuracy and repeatability
In practical measurement work, people often confuse accuracy and repeatability, but they address entirely different questions. Accuracy describes how close a single measurement or average of measurements is to the true or reference value. It’s about being right. Repeatability, on the other hand, looks at the spread of results when you measure the same thing under identical conditions—same operator, same instrument, same setup, short time gap. A device can be highly repeatable but consistently wrong, which means high repeatability but poor accuracy. Conversely, a measurement process might hit the true value on average but produce wildly scattered individual readings, giving decent accuracy only after averaging but terrible repeatability.
The distinction matters a lot in quality control, metrology, and process tuning. If you only track repeatability, you may be blind to a systematic offset that pushes every result away from the target. That offset is an accuracy problem, and it won’t show up in a repeatability study. In contrast, poor repeatability often indicates issues like loose fixturing, thermal drift, or operator inconsistency, which need to be addressed before you can trust any single measurement. Good measurement practice requires looking at both: repeatability tells you about the noise in your process, while accuracy tells you about the bias. Fixing one does not automatically fix the other.
Lighting can be the difference between sharp edges and guesswork
Every corner of a scene can hide or reveal its true geometry, and light decides which side you get. A soft, diffuse source might smooth over fine details, while a hard key light carves out crisp transitions that leave no room for ambiguity. The moment you stop treating illumination as an afterthought, the form stops being a suggestion and becomes a statement.
What often goes unnoticed is how placement shapes perception. Move a single fixture a few degrees, and a rounded surface reads flat; bring it closer to the axis, and texture emerges from seemingly nowhere. This is not about adding more lights, but about understanding how each one interacts with the material. Shadows become the real storytellers, pulling edges forward or pushing them back without a single word.
In practice, the gap between a confident image and a vague one is rarely the gear. It is the willingness to iterate on angles, distances, and modifiers until the subject stops asking for interpretation. Once the light locks the form into place, the viewer no longer has to guess what they are looking at, and that clarity is what separates intentional work from hopeful accidents.
Make sure it won't fight your existing workflow
Adopting a new tool often means bending your habits to fit its quirks, but that shouldn't be the case here. Before you commit, look at how it slots into the tools you already open every morning. Does it respect your folder structure, your naming conventions, or the way you like to review changes? If it starts demanding a separate login portal or forces you to export data just to run a simple report, that friction adds up fast. The goal isn't to replace your current rhythm—it's to let you keep your flow while the new layer quietly handles the busywork.
Think about the moments where your existing workflow feels brittle. Maybe you have a client intake form that feeds into a spreadsheet, or a weekly handoff between design and development that relies on a shared drive. A tool that fights these touchpoints will create silent bottlenecks. Instead, check whether it can plug in through native integrations, watch folders, or even simple API calls that don't require a developer to maintain. The smaller the cognitive shift, the more likely your team will actually use it past the trial period.
Finally, give it a test run with real, messy data—not a sanitized demo. Drag in a project that already has history, comments, and half-finished tasks. Watch what breaks. If the tool wants you to re-tag everything or move files out of their current home, that's a warning sign. The best additions feel almost invisible at first, taking over the repetitive parts while leaving your hard-won patterns intact. That's when you know it's working with you, not against you.
Your operators will live in the software, so choose it carefully
The tools your team uses every day shape how they think, collaborate, and solve problems. When an operator spends hours inside a clunky interface, frustration leaks into every task—data gets misread, shortcuts get invented, and the software quietly becomes the bottleneck. But when the platform fits the workflow like a well-worn glove, things feel almost invisible. That's the goal: software that disappears, leaving only the work itself.
Choosing software isn't just about features on a checklist. It's about the daily rhythm of your people. Will they need three clicks or twelve to close a ticket? Can they pull up a customer's history without digging through menus? Does the system push updates that actually matter, or does it bury them in noise? Every small friction adds up, and over a year, those seconds become hours of lost focus.
Don't settle for a tool that fights against your operators. Test it with real workflows, not demos. Watch how a new hire navigates it on day one. Listen for the sighs—they tell you more than any spec sheet. The right software won't just house your operators; it will elevate them, making their expertise sharper instead of dulled by the medium they work in.
Total cost of ownership goes far beyond the initial price
The sticker price is just the opening line of a much longer story. Once an asset is in your hands, a stream of less obvious expenses begins to flow — maintenance, energy consumption, spare parts, training, downtime, and eventual disposal. A cheap machine that breaks down twice a month can quietly erase the savings you celebrated at the checkout. Smart buyers learn to read between the invoice lines and ask what the product will cost over its entire working life.
Consider the hidden operational drains: a printer with inexpensive cartridges but high paper jam rates, a vehicle with low upfront cost but poor fuel economy, or a software license that requires constant patches and dedicated IT support. These recurring costs compound over years, often dwarfing the original purchase amount. When you factor in resale value and productivity lost during repairs, the picture shifts even further. Total cost of ownership is where the real budget lives.
Forward-thinking organizations now run side-by-side comparisons that include not just acquisition cost but projected service intervals, energy draw, user training hours, and expected lifespan. A higher initial outlay for a durable, efficient model frequently proves cheaper by year three. The lesson is simple: if you only look at the price tag, you're not seeing the whole expense.
FAQ
A vision measuring system uses cameras, lenses, and lighting to capture images of a part and extract dimensions without physical contact. Unlike a traditional coordinate measuring machine that touches surfaces with a probe, a vision system can measure delicate, tiny, or flexible features quickly and often in a single snapshot, though it may struggle with deep internal geometries that a tactile probe can reach.
Start with the size and type of parts you inspect most often, then look at required accuracy, feature complexity, and whether you need to measure in 2D or 3D. Also think about how many parts per day you need to check, because that drives whether you need automation or can get by with a manual stage.
Check the tolerances on your tightest dimensions and choose a system whose stated accuracy is at least a few times better than that tolerance. Resolution matters for edge detection and repeatability, but don't just chase the highest spec, because real-world lighting and part surface conditions often affect actual performance more than the datasheet number.
Automation helps when you have high volume, repeat batches, or need to remove operator influence from the results. For low-volume work, prototype checks, or parts with lots of variation in placement, a manual or semi-automatic system with a good joystick and clear software can be faster to set up and far less expensive.
Software is often the deciding factor between a frustrating tool and a useful one. Look for intuitive programming, robust edge detection, easy report generation, and the ability to import CAD files or export data to your quality system. A system with great optics but clunky software will slow you down and cause more operator errors.
Match the field of view to the features you need to measure in one frame. If your parts have small critical details spread across a large area, you need either a larger sensor, a precision stage that can stitch images, or a lens system that balances magnification with coverage. Avoid systems that force you to constantly reposition the part just to capture one dimension.
Yes, consider calibration, maintenance, replacement bulbs or LEDs, software licenses, fixtures, and training. Also factor in the time needed to create measurement programs for each part number. A cheaper system that requires hours of programming per new part can end up costing more in labor than a pricier one with better software tools.
A good vendor offers hands-on training for your specific parts, not just a generic manual, and is responsive when you hit a difficult measurement problem. Ask about application support, warranty terms, and whether they can help you develop measurement routines for your first few jobs. The relationship often matters more than the hardware specs once the system is installed.
Conclusion
Choosing a vision measuring system starts with a clear-eyed look at the parts you actually need to measure, not a wish list of future possibilities. The geometry, size, tolerances, and surface finish of those components should drive every other decision. Once you know what you're measuring, you have to separate accuracy from repeatability—accuracy tells you how close you get to a true value, while repeatability shows whether you can get the same result again and again. Most inspection tasks depend more on repeatability, so don't pay for extreme accuracy you'll never use. Lighting is often the quiet differentiator: the right illumination turns a blurry edge into a crisp boundary, while poor lighting produces unreliable data no matter how good the optics are.
Beyond the hardware, think about how the system fits into your existing workflow. A machine that forces operators to handle parts differently or export data manually will create friction every shift. The software is where your operators will spend most of their time, so it needs to be intuitive enough that training doesn't become a recurring cost. Finally, look at total cost of ownership—not just the sticker price. Calibration, maintenance, spare parts, software licenses, and the time lost to a steep learning curve all add up. A cheaper system that requires more intervention can end up costing far more than a slightly pricier one that runs quietly in the background. The right choice is rarely the most impressive on paper; it's the one that keeps measuring accurately, day after day, with minimal fuss.
Contact Us
Contact Person: Volien
Email: [email protected]
Tel/WhatsApp: +86 18029161762
Website: https://www.jatentech.com/